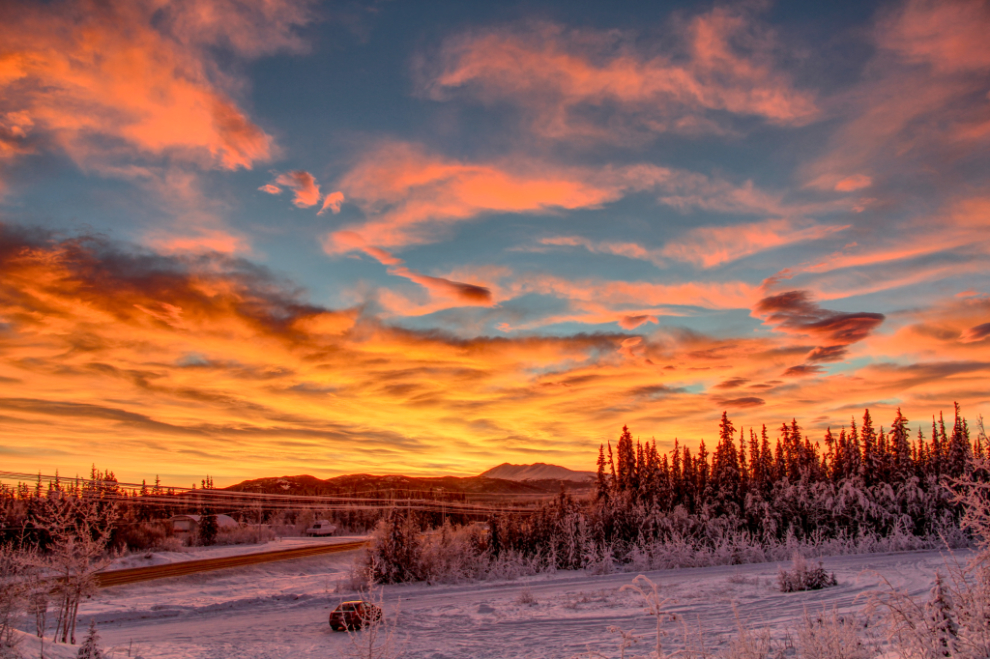
Shooting HDR images (High Dynamic Range)
I’m not usually one for photography “gimmicks”, usually referred to as “Photoshopping”. But there are times when a simple technique can get the image you know is in front of you but the camera just isn’t capturing.
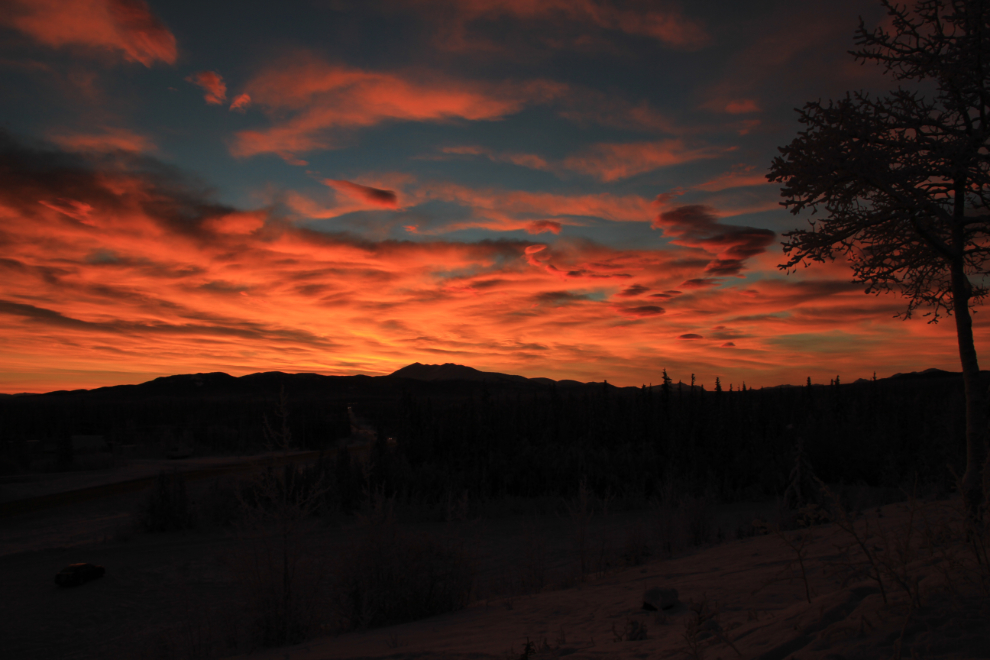
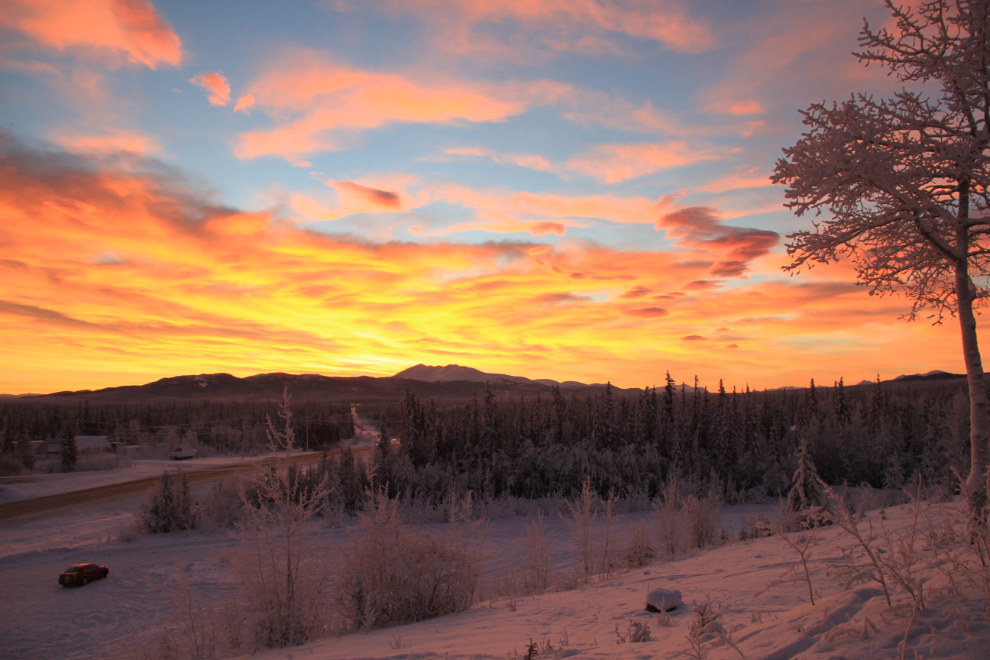
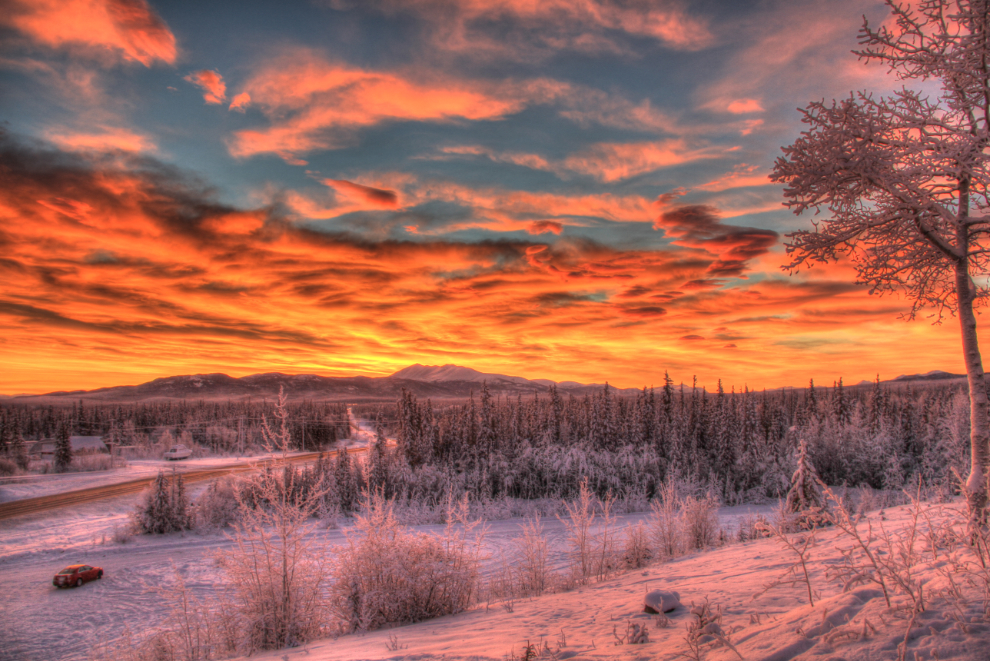
Yesterday’s sunrise was a good example. To get the incredible colours of the sky, the exposure resulted in the foreground being dark, and the foreground was a significant component of the image I wanted.
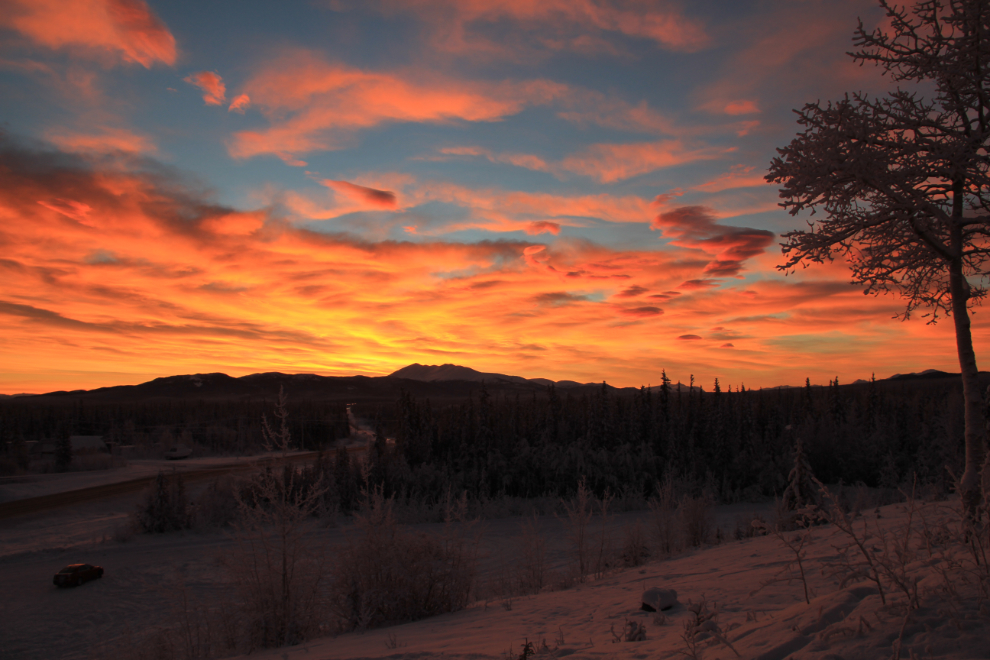
The answer is to bracket at least 3 shots at different exposures and then use software to combine them to get an HDR image.
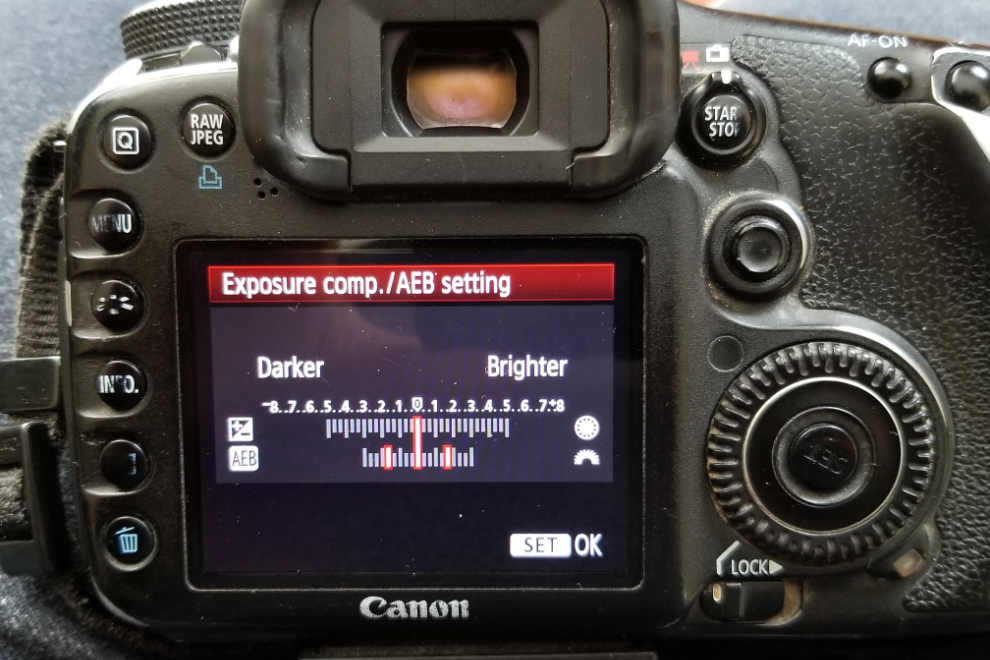
Setting my Canon EOS 7D to bracket images just takes a couple of seconds, then switch the shutter to High Speed Drive, and you’re ready to go.
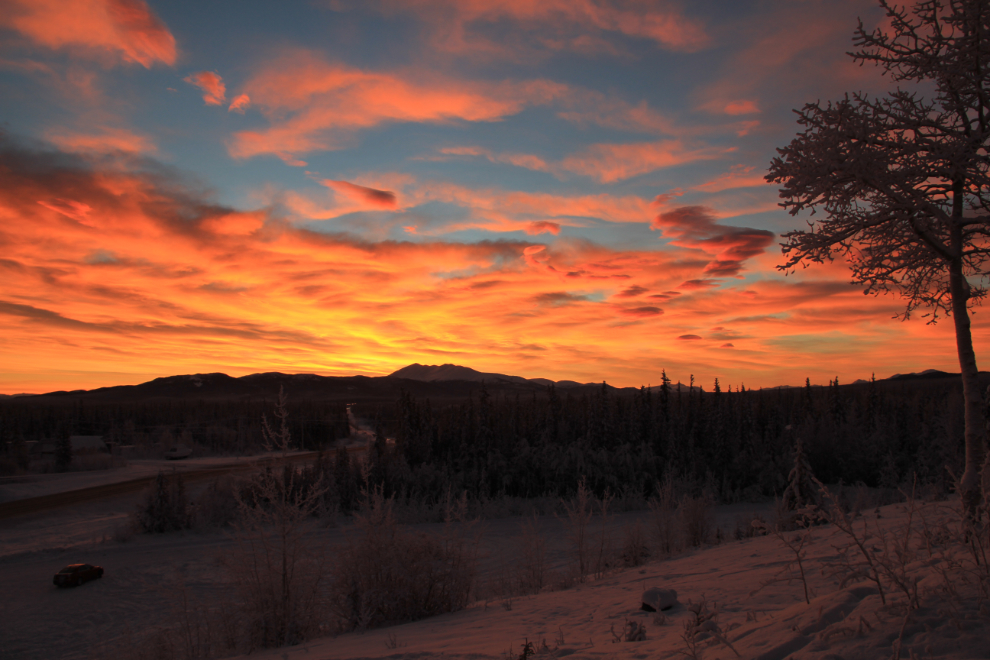
The next 3 shots are the bracketed ones that would then be used at home to create the HDR.
I use Photomatix Essentials and really like it – it’s a simple drag-and-drop, and offers a broad set of options to convert your images to, from minor to drastic. The image below is towards the drastic end of that range.
Just as the sun was rising (at 10:11), I shot another series of bracketed images from one of my favourite viewpoints over Whitehorse, on the Long Lake Road. The exposure bracketing on these was not as wide as on the sunrise images above.
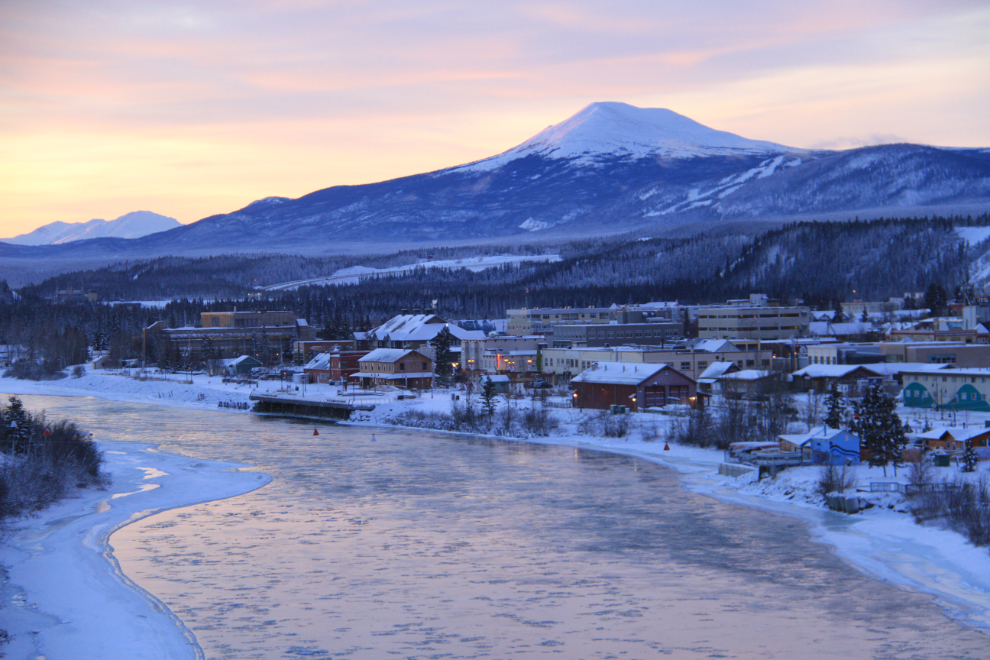
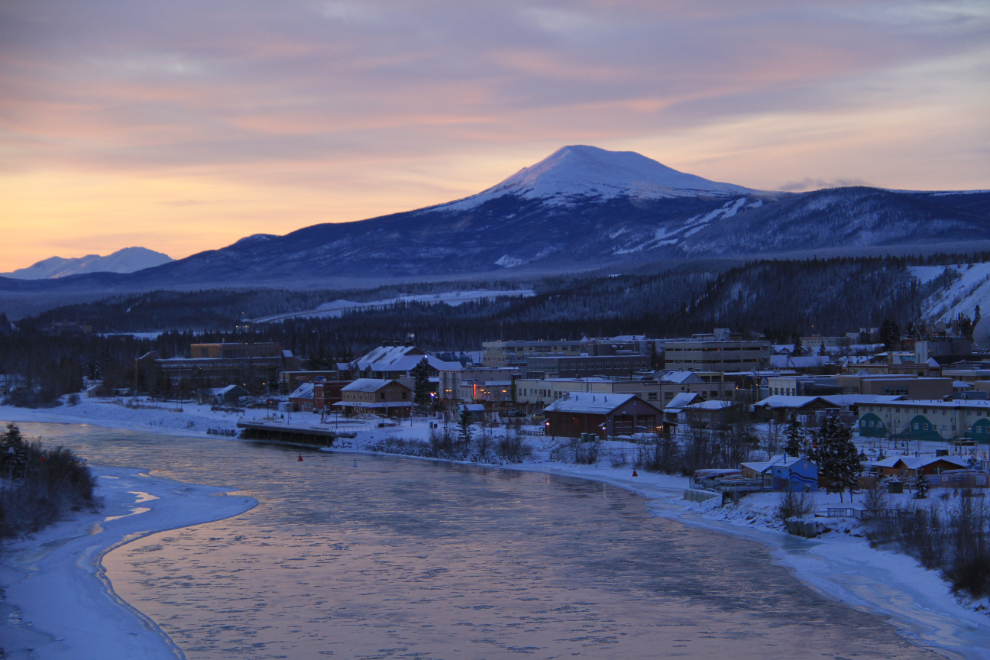
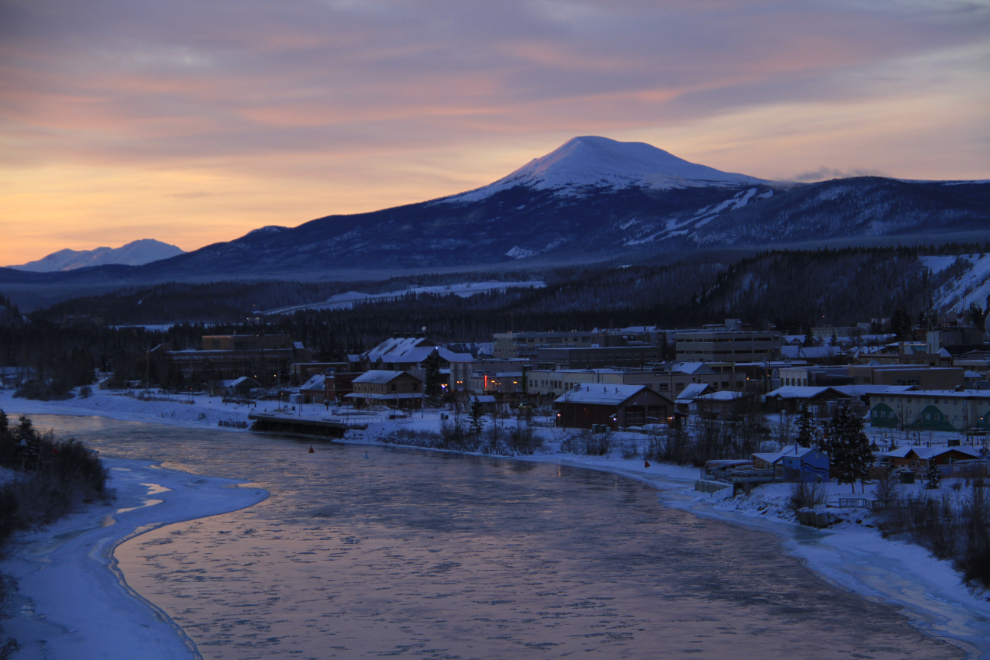
Those 3 images were turned into this HDR.
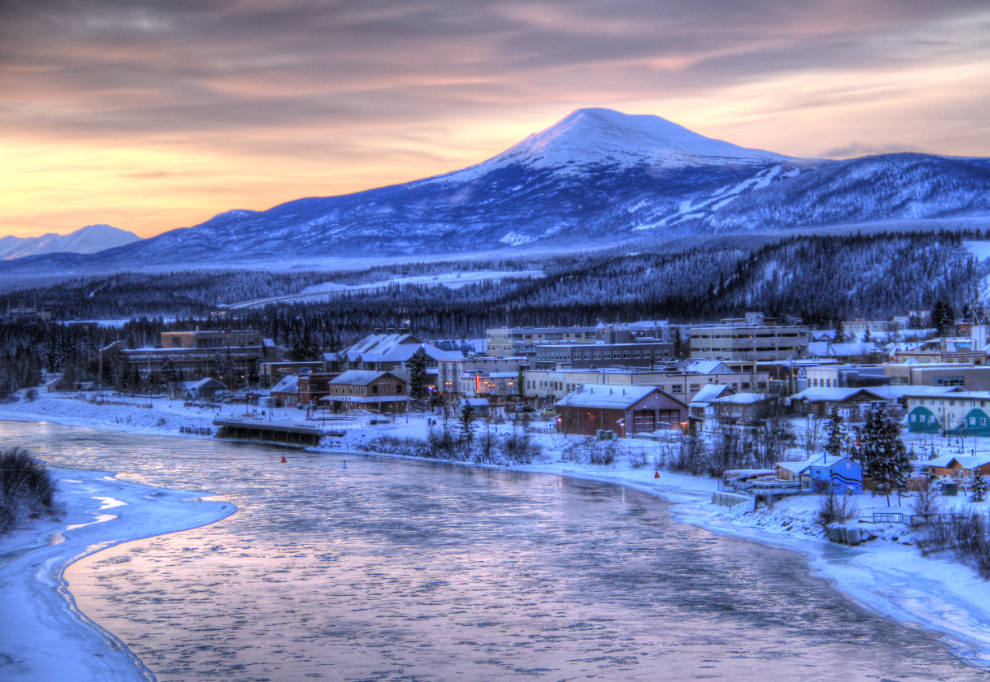
If you’re in a situation where there’s strong contrast between the light and dark areas, give this technique a try – I think you’ll like it. Another subject that it works very well with is building interiors.
Edit: April 9, 2021. The HDR images above were created with Photomatix Essentials but for the past year or so I’ve been using Affinity Photo. Although it only has 5 options instead of 20 or so, I find the results to more more accurate and thus, to me, more pleasing.
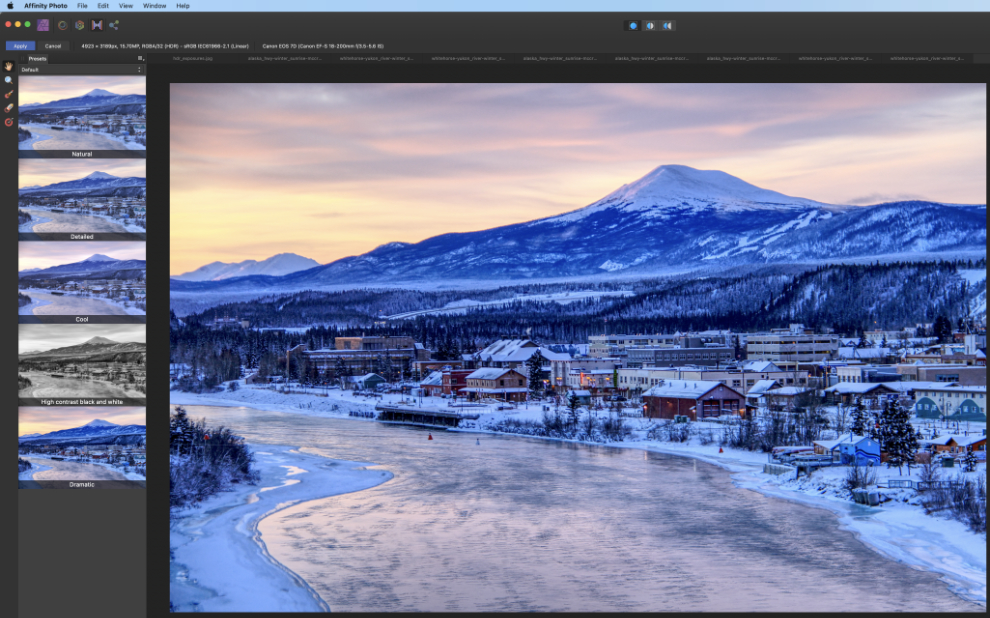
The sunrise re-done with Affinity Photo.
